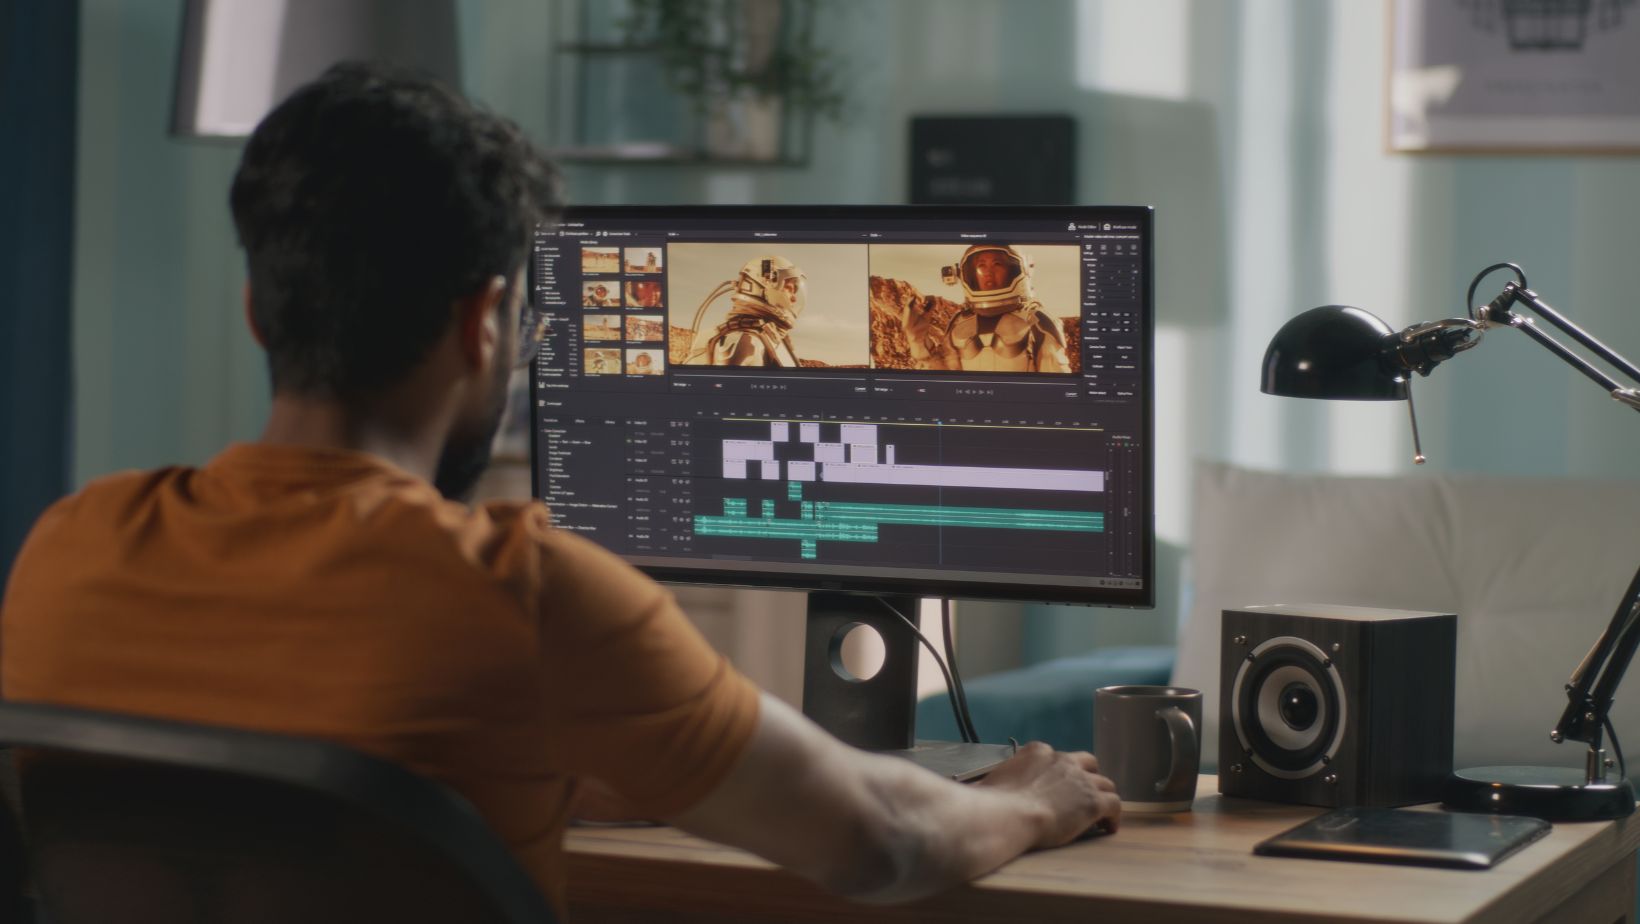
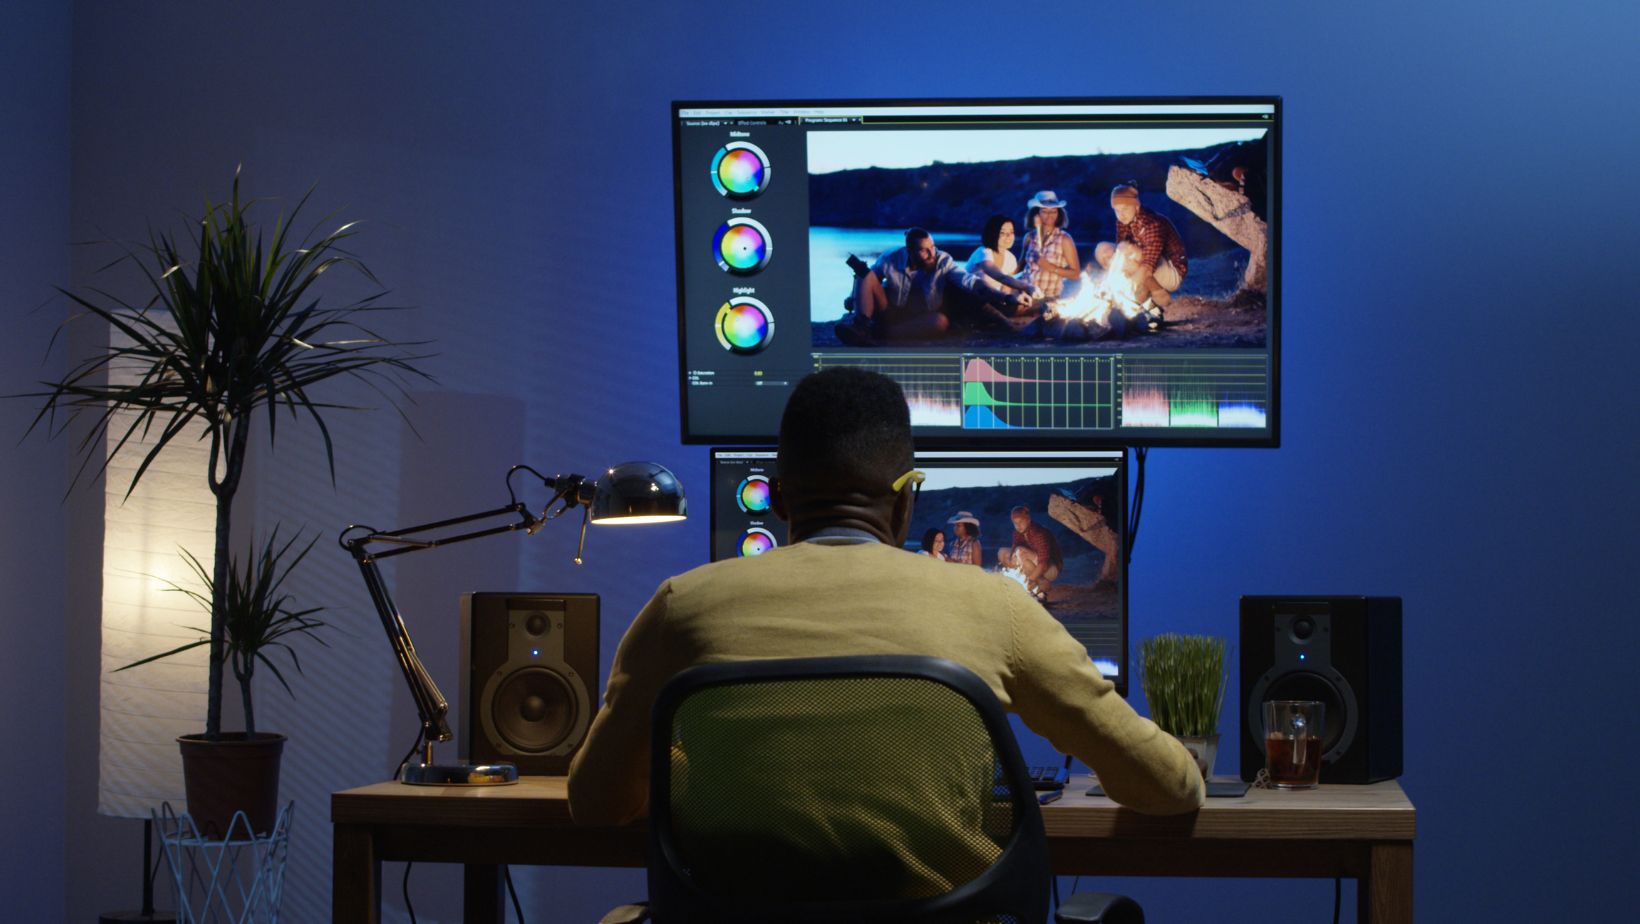
Welcome to your first step into the world of video editing! Whether you’re looking to create memorable family videos, start a YouTube channel, or just have fun with home footage, learning how to trim videos is an essential skill.
So in this article, we will walk you through the basics and help you get started with video editing on Windows. Read on to learn how to trim a video on Windows!
Why Learn Video Trimming?
Video trimming is the process of cutting out unwanted parts of a video. It can make your videos more enjoyable by removing unnecessary sections, keeping the focus on the best moments. For beginners, mastering this basic skill can make a big difference in the quality of your videos.
Getting Started With Video Tools on Windows
To begin trimming videos on Windows, you need the right tools. Fortunately, Windows comes with built-in video editing software that is easy to use and perfect for beginners. We’ll be focusing on the Photos app, which includes a simple video editor.
If you need more advanced features, you can explore other software like Windows Movie Maker. Or you can also use third-party applications like Adobe Premiere Pro and DaVinci Resolve.
Step-by-Step Editing Guide on How to Trim a Video on Windows
To start editing your videos with the Photos app, follow these simple steps:
Step 1: Open the Photos App
First, open the Photos app on your Windows computer. You can find it by typing “Photos” into the search bar at the bottom left of your screen and clicking on the app.
Step 2: Import Your Video
Once the Photos app is open, you’ll need to import the video you want to trim. Click on the “Import” button located at the top right corner of the screen.

Select “From a folder” and browse your computer to find the video file. Click “Add” to import it into the app.
Step 3: Open the Video Editor
After importing your video, go to the “Video Editor” tab at the top of the Photos app. Click “New video project” to create a project for your video. Give your project a name and click “OK.”
Step 4: Add Your Video to the Project
Now, you need to add your video to the project timeline. Click on “Add” in the Project Library section and select “From this PC.” Find your video file and click “Open.” Drag the video from the Project Library to the Storyboard at the bottom of the screen.
Step 5: Trim Your Video
To trim your video, click on the video clip in the Storyboard. Then, click on the “Trim” button located above the timeline. This will open the trimming tool.
You will see two sliders below the video preview. The left slider marks the beginning of the portion you want to keep, while the right slider marks the end.
Adjust these sliders by clicking and dragging them to the desired start and end points of your trimmed video. Once you’re satisfied with the selection, click “Done” to apply the trim.
If you’re not happy with the result, you can also try out the MP4 cutter in Adobe. This way, you can have options to choose from.
Step 6: Save Your Edited Video
After trimming your video, it’s time to save the edited version. Click on the “Finish video” button at the top right corner of the screen. Choose the quality for your video (1080p, 720p, or 540p) and click “Export.” Select a destination folder and give your video a name. Click “Export” again to save your trimmed video.
Additional Beginner Tips for Video Editing
Now that you’ve mastered the basics of trimming a video, here are some beginner tips to enhance your video editing skills:
Experiment With Different Video Tools
While the Photos app is great for beginners, don’t hesitate to try other video tools available on Windows.

Each tool offers unique features that can help you improve your video editing capabilities.
For example, Windows Movie Maker allows you to add special effects and transitions. Adobe Premiere Pro offers advanced editing techniques like color correction and audio mixing.
Keep Your Videos Short and Engaging
When trimming your videos, aim to keep them concise and engaging. Remove any unnecessary parts to maintain the viewer’s interest. A well-trimmed video is more likely to be enjoyed and shared.
For example, if you’re creating a vlog, focus on the most exciting moments. Cut out long pauses or irrelevant sections.
Don’t Be Afraid to Use Music
Adding background music can enhance your video’s overall quality and make it more engaging. You can use free music resources like YouTube Audio Library or Incompetech to find suitable tracks for your videos.
Remember to keep the volume low, so it doesn’t overpower your audio content. And always credit the artist in the description of your video.
Practice Makes Perfect
The more you practice video trimming, the better you’ll become at identifying the best moments to keep and those to cut. Don’t be afraid to experiment and try different editing techniques to find your style.
For instance, try using different transition effects to make your videos more visually appealing. Or play with color correction to give your videos a unique look.
Learn from Online Tutorials
There are countless online tutorials available that can help you learn more about video editing. Platforms like YouTube offer step-by-step guides and tips from experienced editors. Take advantage of these resources to expand your knowledge.
You can also join online communities of video editors. You can share your work, get feedback, and learn from others.
Organize Your Footage
Before you start editing, take some time to organize your footage. This will make the editing process smoother and more efficient. Create folders for different projects and label your video files clearly.
Save Your Work Regularly
Video editing can be time-consuming, and you don’t want to lose your progress due to a computer crash or power outage. Save your work regularly to avoid any potential setbacks.
Practice Makes Perfect
With these tips and steps on how to trim a video on Windows, you are now ready to start trimming your videos on Windows. Remember to have fun, experiment with different tools, and keep practicing. As with any skill, the more you do it, the better you’ll become.
So go ahead and give video editing a try. Don’t be afraid to make mistakes and keep learning. Who knows, you may discover a new passion for creating amazing videos! Happy editing!
Did you find this article helpful? If so, check out the rest of our site for more.


